A new artificial tree may look a little different when you first take it out of the box. Branches are often gathered closely together for shipping, and some tree models require assembly before they can be displayed.
With a few careful adjustments, you can bring out the tree’s natural shape and create a more balanced, realistic appearance.
Whether you’re setting up an artificial olive, lemon, eucalyptus, or cedar tree, this guide covers the basic process, offers Adorbox’s official setup videos, and explains how to handle common shaping challenges.
1. Before You Watch: The Basic Artificial Tree Setup Process
Most artificial trees follow a similar general setup process, although the exact steps depend on the tree’s construction and design.
Before starting, choose a clear, level area where you have enough room to assemble the tree and adjust its branches without pushing against nearby furniture.
Step 1 — Unbox and Check the Components
Carefully remove the tree and any included components from the packaging.
Check the trunk, branches, planter, and any separate sections or connection points. If something appears damaged or missing, consult the product instructions before proceeding.
Keep the packaging nearby until you’ve confirmed that the tree is complete and properly assembled.
Step 2 — Assemble and Secure the Tree
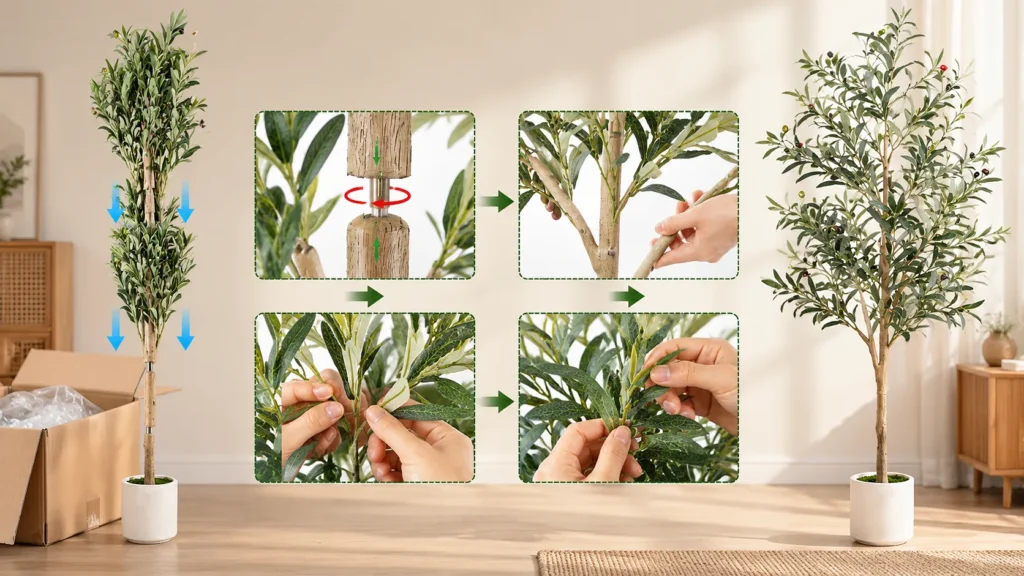
If your tree includes separate trunk sections or other components, assemble them according to the instructions for your specific model.
Check that the tree is properly seated in its base and stands securely on a level surface.
Avoid forcing components together if they don’t align correctly.
Step 3 — Open and Shape the Branches
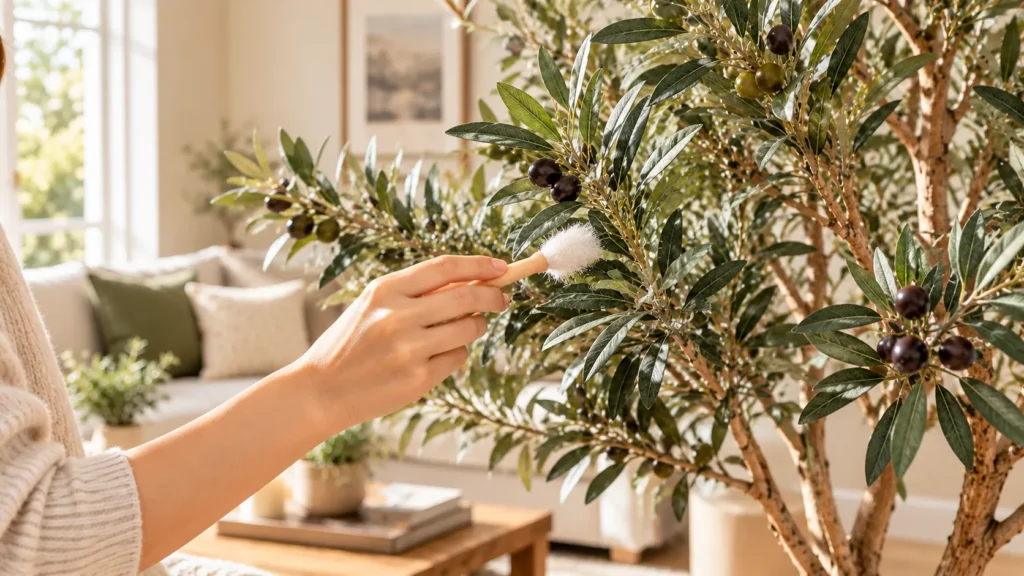
Branches may be gathered inward during shipping, making the tree appear narrower or less balanced than expected.
Gently separate and adjust branches that are designed to be shaped, working gradually from the inner structure toward the outer foliage.
Follow the natural direction of the branches rather than trying to make every side perfectly symmetrical.
Step 4 — Check the Final Silhouette
Once the main branches are arranged, step back and view the tree from several angles.
Look for obvious gaps, crowded areas, or branches that interrupt the intended silhouette.
Make small adjustments where appropriate, keeping the natural character of the tree variety in mind.
Important: Not every artificial tree has the same assembly method or branch flexibility. Always follow the instructions and setup video for your specific product.
2. Watch Adorbox Artificial Tree Setup Videos
The easiest way to understand the setup process is to see it demonstrated on the actual tree.
Adorbox’s official video tutorials show how to assemble and shape different artificial tree varieties. Choose the video that matches your tree before making detailed adjustments.
Artificial Olive Tree
Follow the product-specific assembly process and see how the olive branches are arranged to create a natural, open silhouette.
Artificial Lemon Tree
Watch the setup process and learn how to arrange the foliage while preserving the tree’s natural branching and fruit distribution.
Artificial Eucalyptus Tree
See how the eucalyptus branches are positioned to maintain a balanced, airy appearance and the characteristic shape of its rounded foliage.
Artificial Cedar Tree
Follow the setup process while maintaining the cedar tree’s naturally slender, tapered evergreen silhouette.
Each video demonstrates the corresponding Adorbox product. If your tree has a different construction or configuration, refer to the instructions supplied with your specific model.
3. Shaping Tips for Different Artificial Tree Types
A natural-looking artificial tree isn’t necessarily one with the fullest possible canopy.
Different tree varieties have different growth patterns, foliage shapes, and overall proportions. Understanding these characteristics can help you avoid over-shaping your tree.
Artificial Olive Trees: Keep the Branching Open and Natural
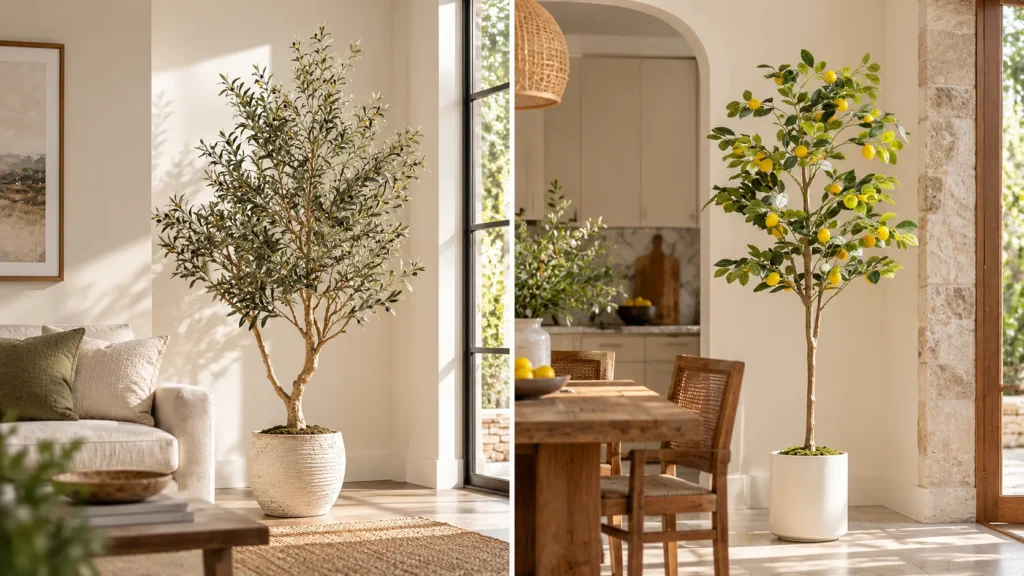
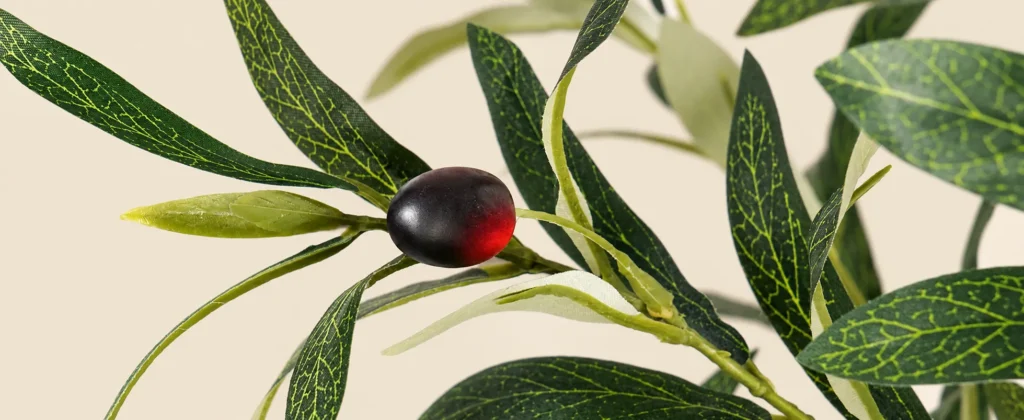
Olive trees are known for their slender leaves, irregular branching, and relatively airy appearance.
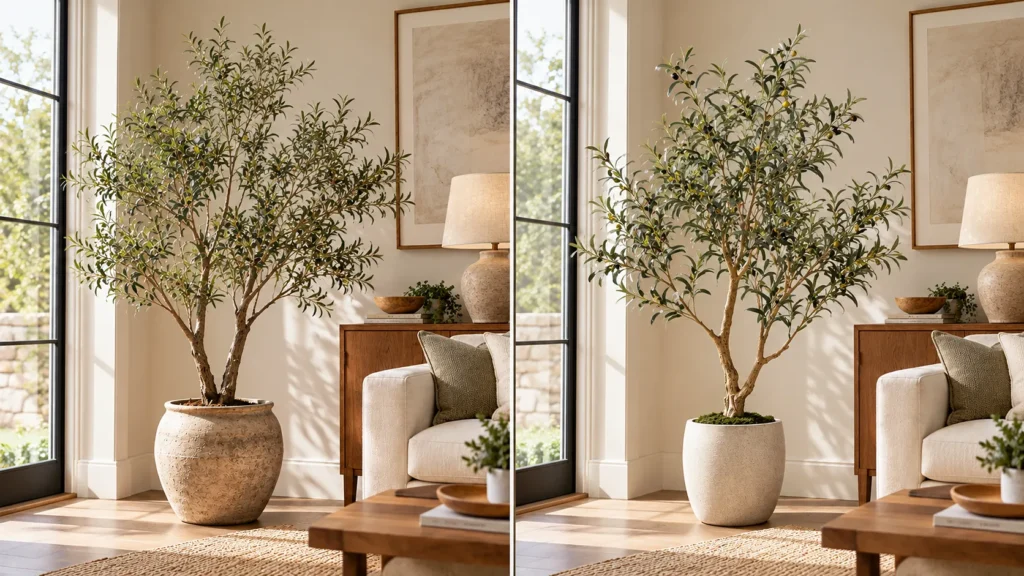
When shaping an artificial olive tree, allow some space between the branches instead of pushing all the foliage outward to create a dense, rounded canopy.
The goal is a relaxed, organic silhouette.
For multi-trunk olive trees, pay attention to how the branches from each trunk contribute to the overall shape without making the canopy look overly uniform.
Artificial Eucalyptus Trees: Preserve a Soft, Upright Silhouette
Eucalyptus trees have distinctive rounded leaves and a softer visual character.
For Adorbox’s upright eucalyptus designs, avoid spreading the branches so widely that the tree loses its naturally narrow profile.
Allow the foliage to sit at slightly varied positions while keeping the overall shape balanced.
Artificial Lemon Trees: Balance Leaves and Fruit
Artificial lemon trees combine green foliage with bright yellow fruit, creating a more colorful decorative effect.
When arranging the branches, consider how the lemons appear from different viewing angles.
Avoid excessive bending or pulling on fruit-bearing branches, and preserve the tree’s natural upright shape rather than forcing the canopy into a perfectly rounded form.
Artificial Cedar Trees: Maintain the Tapered Shape
Cedar trees have a more structured evergreen silhouette than olive, eucalyptus, or lemon trees.
When adjusting an artificial cedar tree, focus on maintaining its tapered outline.
Avoid pulling the outer branches too far away from the central structure, which can make the tree appear wider and less natural.
The key principle: Shape each tree according to its own natural character, not a single idea of what a full artificial tree should look like.
4. Common Artificial Tree Setup Problems and How to Fix Them
Even after watching an installation video, you may notice a few areas that need additional attention.
Here are some common situations and practical ways to approach them.
The Tree Looks Too Sparse
First, check whether the branches have been arranged according to the setup instructions.
Some artificial trees naturally have an open canopy, particularly olive and eucalyptus designs. Visible spaces between branches are not always a sign that something is wrong.
Compare the overall silhouette with the product photographs rather than judging the tree only by how densely the foliage is packed.
The Canopy Looks Uneven
View the tree from the front, sides, and slightly farther away.
If the model has adjustable branches, make small changes to their direction and spacing. Avoid repeatedly bending the same section or applying excessive force.
A natural-looking tree doesn’t need perfect symmetry, but its overall proportions should still feel balanced.
The Tree Doesn’t Stand Straight
Make sure the planter or base is resting on a level, stable surface.
If the model includes separate sections or connection points, check that they have been assembled and secured according to the instructions.
If the tree remains unstable, stop adjusting it and check the product guidance rather than attempting an improvised repair.
Some Branches Still Look Compressed
Branches can remain close together after shipping.
For branches designed to be adjustable, gradually separate them according to the product’s setup guidance. Work carefully and avoid sudden or forceful movements.
Some minor reshaping may be necessary to achieve the intended appearance.
The Finished Tree Looks Different From the Product Photos
Check the tree’s overall height, branch arrangement, and viewing angle.
Product photography may show a tree after its branches have been fully arranged, while a newly unpacked tree may still need adjustment.
Lighting, camera angle, and surrounding furniture can also influence how a tree appears.
If you notice a significant difference that cannot be explained by normal shaping, refer to the product information or contact the seller for assistance.
5. Finishing Touches After Setup
Once your artificial tree is assembled and shaped, a few simple styling decisions can help it feel more integrated into your home.
Start by checking the overall appearance from the main viewing areas of the room. A tree that looks balanced from one angle may need a minor adjustment when seen from the doorway or seating area.
You can also consider placing the original planter inside a decorative outer pot or basket, provided the arrangement remains stable and the container is appropriately sized.
For more ideas on improving foliage presentation, planter styling, and natural appearance, read How to Make an Artificial Tree Look More Realistic.
If you’re deciding where the finished tree should go, explore Where to Place an Artificial Tree in Your Home for practical advice on furniture proportions, visual balance, and available floor space.
Frequently Asked Questions
Do all artificial trees require assembly?
No. Some artificial trees arrive largely assembled and mainly need branch adjustment, while others include separate sections or components that must be connected. Always check the instructions for your particular model.
How do you fluff an artificial tree after shipping?
Begin by following the product’s setup instructions. For adjustable branches, gently separate foliage gathered during shipping and make gradual changes to the branch positions. Step back regularly to assess the overall shape.
Can you bend artificial tree branches?
Some artificial trees have branches designed for careful adjustment, but flexibility varies by product and construction. Never assume that every branch can be bent freely, and avoid applying excessive force.
Should an artificial tree look perfectly symmetrical?
Not necessarily. Natural trees often have irregular branching patterns and varying foliage density. A balanced overall shape is usually more convincing than a perfectly uniform canopy.
What should I do if a branch or component appears damaged?
Stop adjusting the affected part and review the product instructions. Contact the seller if you suspect damage or a missing component. Avoid forcing or repairing structural parts without appropriate guidance.
Final Thoughts: Let the Tree’s Natural Shape Guide You
Assembling and shaping an artificial tree doesn’t have to be complicated.
The most important steps are following the correct product instructions, adjusting branches carefully, and respecting the natural silhouette of the tree variety.
At Adorbox, our artificial olive, lemon, eucalyptus, and cedar trees have distinct shapes and foliage characteristics. Our official setup videos are designed to help you understand how to prepare and arrange each tree for display.
With the right setup and a little attention to detail, your artificial tree can become a natural-looking part of your home décor.
Explore Adorbox Artificial Trees to discover different tree styles and sizes for your space.